Your Comprehensive Guide to DIY Window Tinting: Tips and Techniques
Taking on a DIY home window tinting project presents a possibility to boost both the functionality and visual appeals of your room. Nevertheless, prior to beginning on this venture, it is critical to browse the intricacies of regional tinting policies and select an appropriate film that aligns with your goals. From vital devices to a meticulous application process, each action plays a vital duty in achieving a professional coating. Moro Auto Spa Window Tinting. As you consider the various choices and methods readily available, you may discover yourself wondering about the most effective practices to make certain long life and performance of your color.
Recognizing Home Window Tinting Rules
Browsing the intricate landscape of window tinting laws is important for any kind of DIY fanatic looking for to boost their car's appearances and comfort. Each state in the united state has particular laws regarding the allowed levels of color on various home windows, which can substantially impact your decision-making process.
Normally, these laws determine the maximum allowed Noticeable Light Transmission (VLT) portion, which describes the amount of light that can go through the colored home windows. For instance, some states allow only a certain percentage of color on the front windscreen, while allowing darker shades on back windows. Compliance with these policies is critical, as failure to stick can cause fines or the requirement to get rid of the tint completely.
Additionally, there are often distinctions between passenger automobiles and industrial cars, with different guidelines relating to each group. It's suggested to consult your neighborhood Division of Motor Autos or comparable authority to collect accurate info customized to your location. Comprehending these regulations not just makes sure lawful conformity however likewise boosts safety and security by maintaining presence and preventing prospective threats while driving.
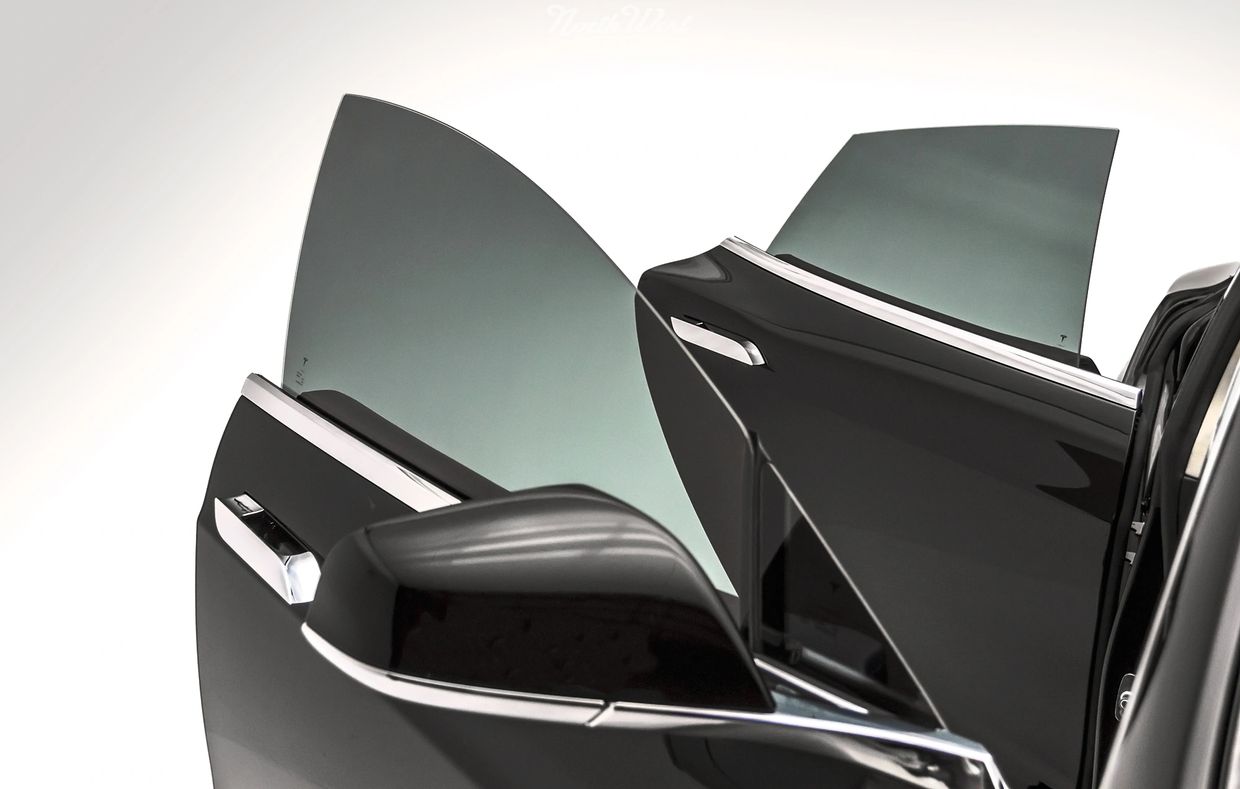
Selecting the Right Color Movie
Picking the ideal color film is a critical step in the DIY window tinting process, as it directly affects both the look and performance of your car's windows. Numerous aspects must assist your choice, including the sort of movie, its lawful compliance, and your preferred results.
First, think about the various types of color movies available: dyed, metalized, ceramic, and hybrid. Metalized movies offer improved warm rejection and durability however can conflict with electronic signals.
Next, make certain that the film follows neighborhood policies concerning visible light transmission (VLT) percents. Compliance with these regulations is critical to prevent fines and guarantee safety and security.
Important Devices for DIY Tinting
Having chosen the best tint movie for your windows, the next step entails collecting the essential devices to ensure a successful setup. The key devices you will require include an energy blade or a my response razor blade, which is vital for reducing the color movie to the preferred size. A squeegee is also critical, as it aids eliminate air bubbles and smooth out the film during application.

In addition, think about using a warm gun or hairdryer, click here to find out more as this can help mold and mildew the color film to the shapes of the home window and promote adherence. Handwear covers are advisable to prevent fingerprints on the film during installment. By gathering these necessary tools, you will certainly be well-prepared to tackle your do it yourself window tinting task effectively.
Step-by-Step Application Refine
Begin by extensively cleaning the home window surface area to make certain optimum adhesion of the color film. Use a glass cleaner and a lint-free towel to eliminate any type of dust, dirt, or oil. As soon as the home window is tidy, gauge the color film against the window, enabling for a small overlap on all sides. Cut the movie appropriately with a sharp utility blade for a specific fit.
Next, prepare a remedy of water and a couple of decreases of infant hair shampoo in a spray container. Gently spray the home window surface area and the sticky side of the film. This service will allow for repositioning during application. Thoroughly line up the film with the top of the window, ensuring it is directly. Press the movie against the glass, beginning from the center and functioning outward to remove air bubbles. Use a squeegee to smooth the film, using company, even pressure.
Trim any excess film from the sides with your energy knife. Allow the tint to treat for at least 24 hours without rolling down the home windows. This step is essential for making sure a durable application. Comply with these steps vigilantly for optimal outcomes in your DIY home window tinting project.
Upkeep and Treatment Tips
It's suggested to wait a minimum of a week after setup before cleansing your windows to enable the glue to fully cure. During this initial period, prevent rolling down the home windows to avoid any damages to the tint.
Normal upkeep entails checking the sides of the color for any type of indicators of bubbling or raising. If you notice any kind of problems, it's best to resolve them promptly to stay clear of additional wear and tear. In addition, be mindful with the use of window therapies, such as tones or drapes, as they can produce warm that may endanger the tint gradually.
Final Thought
In conclusion, undertaking a DIY home window tinting project necessitates cautious factor to consider of regional policies, option of appropriate color movies, and the usage of important tools. A methodical application procedure ensures optimal results, while regular maintenance adds to the long life of the color - Moro Auto Spa Window Tinting. By adhering to these standards, individuals can attain both visual improvement and boosted personal privacy in their rooms, making DIY home window tinting a beneficial undertaking